Moments
Create a moment
A moment can hold one photograph or a fuller sequence. The editor separates the photographic order from its details so you can arrange the set first, then add only the words and sharing choices it needs.
Add the photographs
Choose photographs from your device and let each upload finish. Moments reads useful camera metadata where it is available and prepares web renditions while keeping the original file for export. Upload progress and current plan usage are shown while you work.
Drag the completed photographs into their reading order. That order carries into the public moment and its lightbox, so the first frame can establish the scene and the last can give it a natural close.
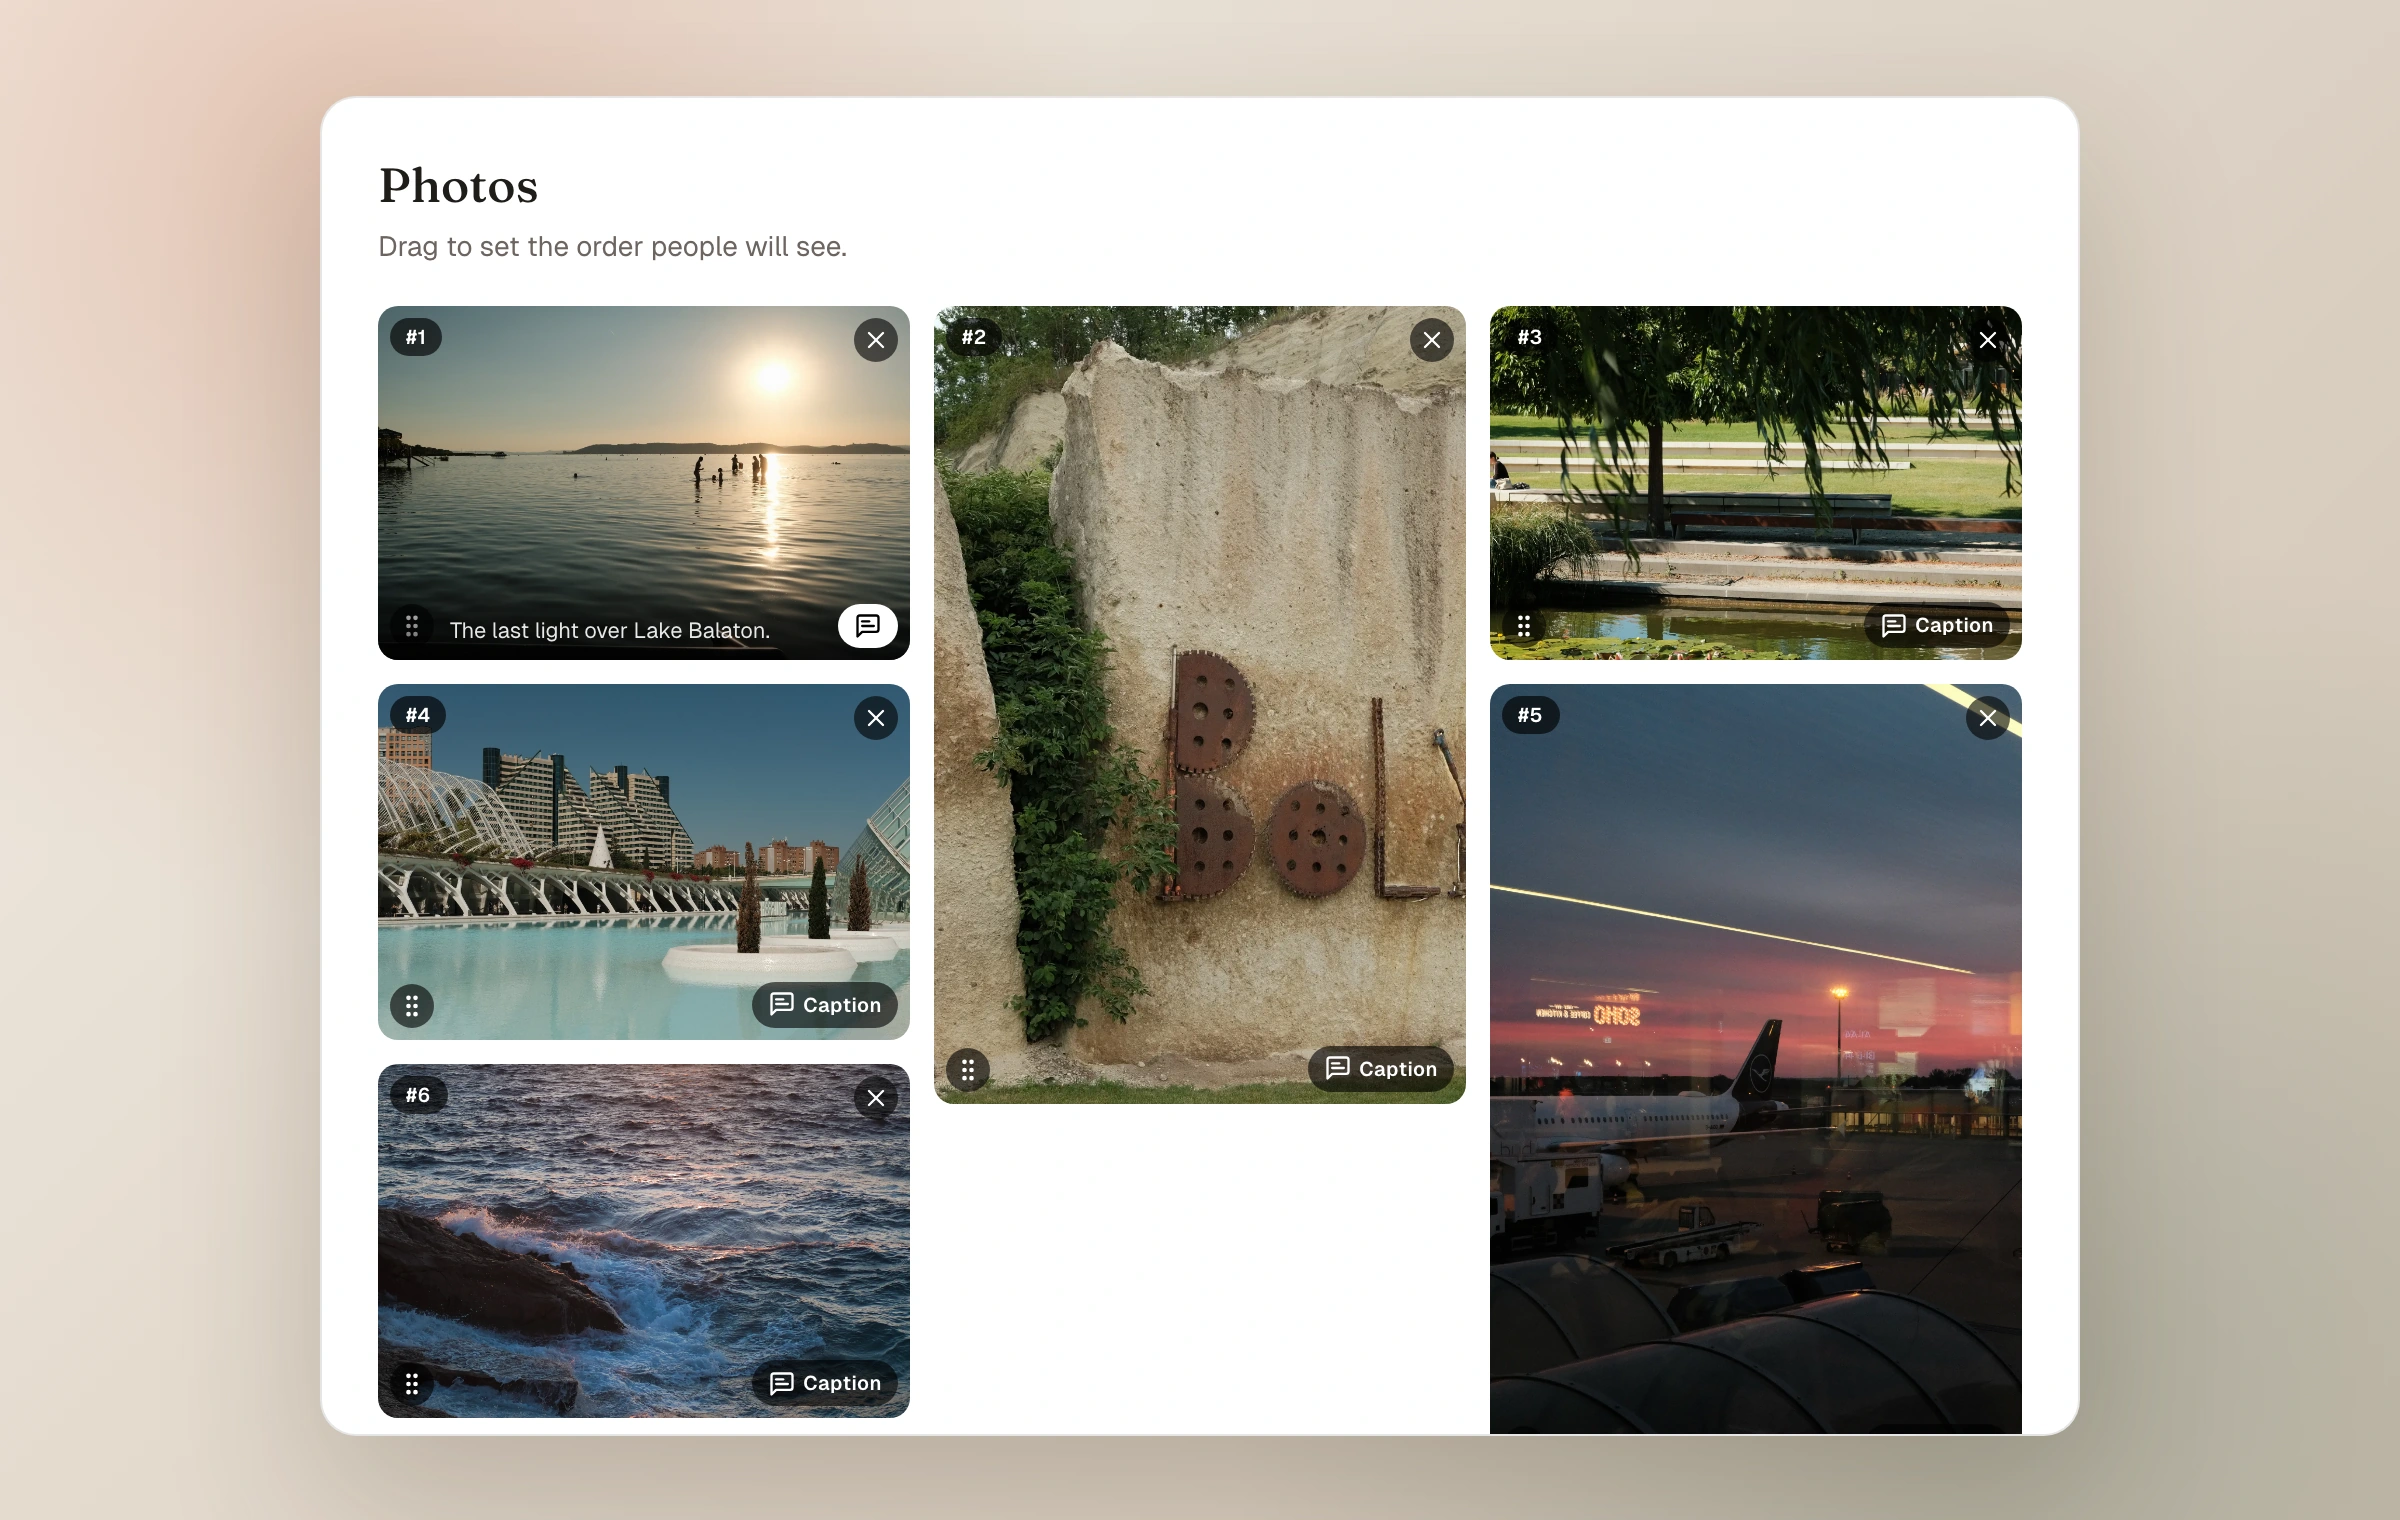
- JPEG, PNG, WebP, GIF, HEIC, HEIF, and HIF image files are accepted by the upload flow.
- Each file can be up to 20 MB.
- Your plan determines monthly uploads, total original storage, and photographs allowed in one moment.
- A photograph can be removed or reordered before saving.
Give the set its context
The detail step can hold a title, location, captured date, field note, and tags. The captured date is the date the moment belongs to in the journal, which is different from the date it was uploaded. When the photographs contain a capture date, Moments can use that evidence to make dating easier.
The field note is rich text for the moment as a whole. Use it for the few lines that bind the sequence together, or for a longer account when the photographs need one. It can also include cards that point to other published or unlisted moments.
Tags appear as part of a moment's context and are offered again in the editor so naming stays consistent across the journal. They are labels for display and reuse; Moments does not currently build a filtered community or journal archive from them.
Write at the right level
Use the field note for the whole set and photo captions for individual frames. A caption might name a person, record a detail, or explain why one frame matters. Each photo can also have distinct alt text when its visible caption is not the clearest description for a screen reader.
Save a draft or publish
Saving keeps the work in the dashboard without placing it on the journal. Publishing makes it available according to the visibility you chose. Public, unlisted, and password-protected moments deliberately have different discovery rules; review that choice before sharing a link.
- 01
Arrange
Wait for the uploads, remove mistakes, and drag the photographs into order.
- 02
Describe
Add the title, location, captured date, field note, tags, captions, and alt text that are useful.
- 03
Choose access
Set Public, Unlisted, or Password, then make any separate community or conversation choices offered for a public moment.
- 04
Keep or release
Save as a draft while it is still forming, or publish when it is ready to meet its audience.
Keep reading
Related guide
Publish, revise, and remove work
Understand drafts and published moments, live updates, links, unpublishing, and deletion.
Related guide
Photos, originals, and metadata
What happens during upload, which camera details Moments reads, and what is preserved for export.
Related guide
Captions, alt text, and the lightbox
Add meaning to individual frames and understand the focused viewer readers use to move through a set.
Related guide
Choose who can see a moment
A precise guide to Public, Unlisted, and Password, including the separate choices for community and conversation.